1. Launch Instance of the eagle-i AMI
For more detailed information on how to launch an EC2 Instance from an AMI, please see AWS Documentation: Launching an Instance.
- Go to your EC2 Dashboard.
- Click on the Launch Instance button
- Select the Community AMIs tab on the left
- Search for 'eaglei'
Select the latest eagle-i AMI
Latest eagle-i AMIeaglei-4.3.0-20160605 - ami-39e81654Root device type: ebs Virtualization type: hvmChoose an Instance Type that is appropriate for your installation. For the available instance types as of August 2016, we recommend:
EVALUATION/DEVELOPMENT NODE t2.micro
PRODUCTION NODE m3.medium
- Click on the Review and Launch button
- Click on Edit Security groups
- Click on the Add Rule button
- Select HTTPS from the drop down
- Click on the Review and Launch button
- Click on the Launch button
- Select the key pair that was created when allocating the EC2 resources.
- Click on the Launch Instance button
2. Wait for Instance to complete initialization
For more detailed information about the instance lifecycle, please see AWS Documentation: EC2 Instance Lifecycle.
- Go to the Instances view by doing either:
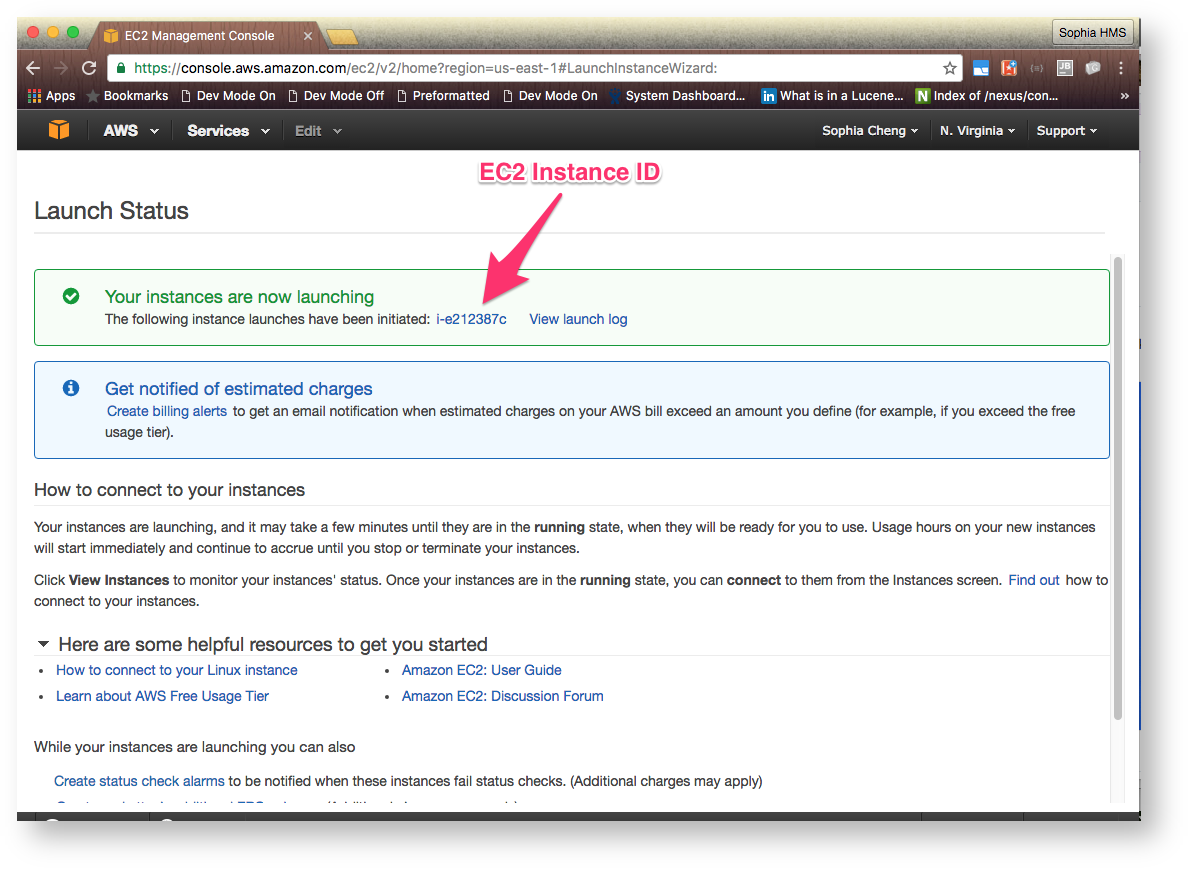
- Click on the EC2 Instance ID in the Launch Status page
- Go to your EC2 Dashboard and click on Running Instances
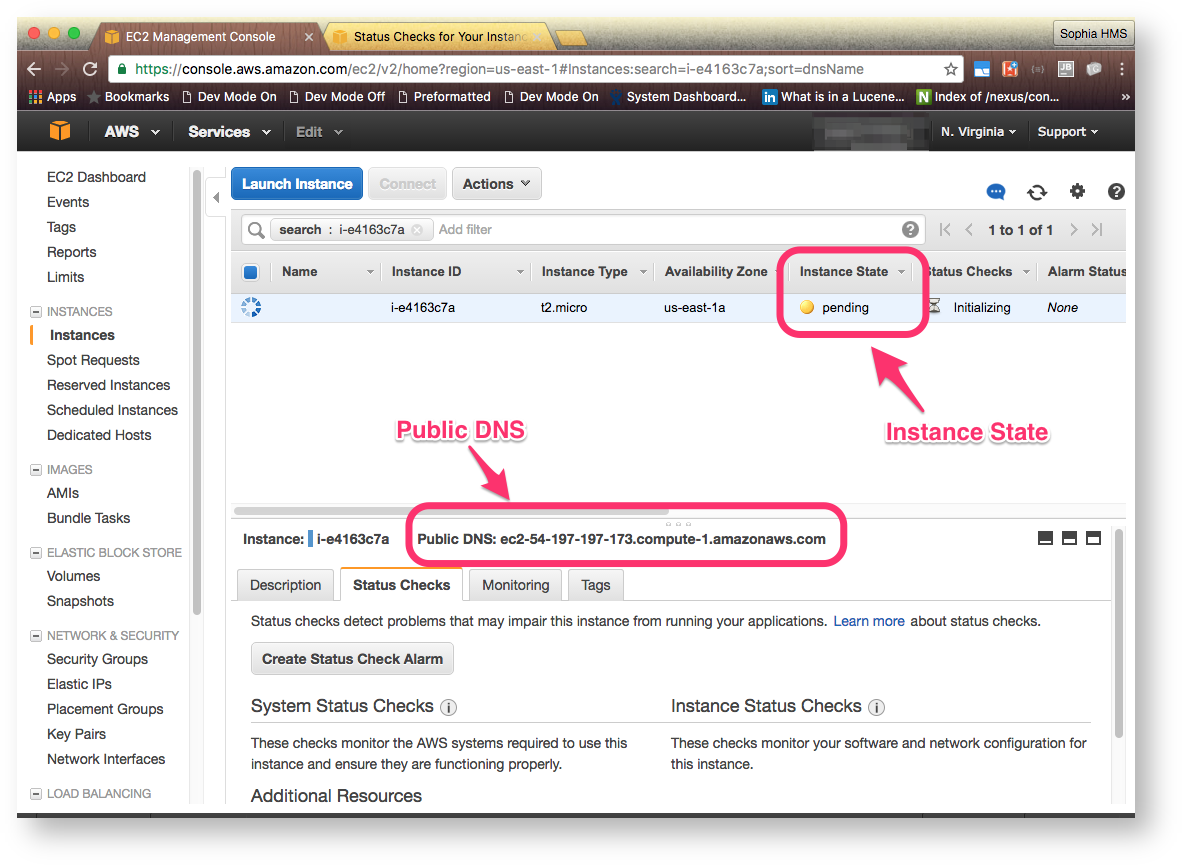
- Wait for the Instance State to go from Pending to Running
- If you are running an EVALUATION/DEVELOPMENT NODE, make note of the Public DNS
Overview
Content Tools

