The configurations detailed on this page is only for nodes participating in the ACT Production network and after upgrading to SHRINE 3.0
OVERVIEW
By following these steps you are adding a link to a Google Sheet in each of the web clients available in SHRINE 3.0:
- Legacy Web Client: Change the default "Network Help" link in the upper right of the web client to read "Site Data Details"
- New Web Client: Adding a "Site Data Details" link to the user profile menu, which links to the same Google Sheet.
The destination for these links is: https://docs.google.com/spreadsheets/d/16Z23xRbeyvcnM_BEtecgMQDFCL0BOTUDZiZLfkdmV-0/edit#gid=0
New Web Client: Adding "Site Data Details" to User Profile Menu
DEFAULT CONDITIONS
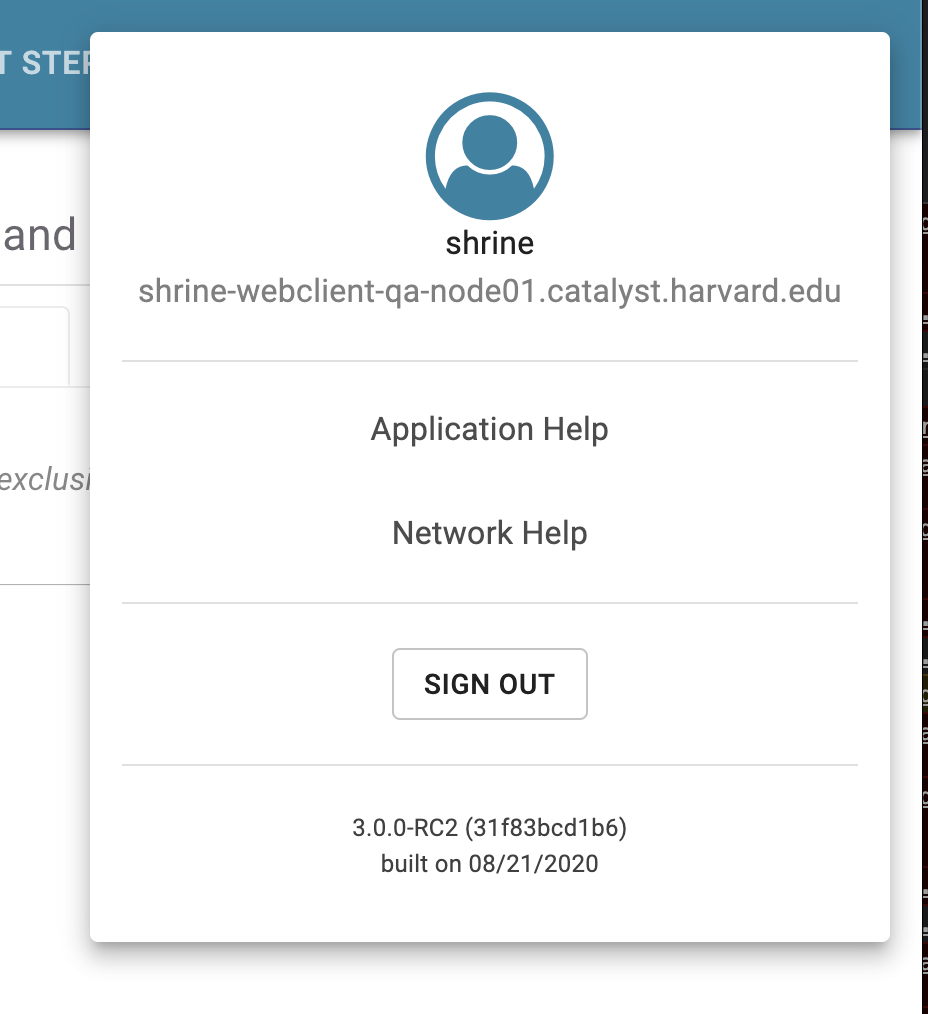
The User Profile menu seen below comes with two default links "Application Help" and "Network Help".
PROCEDURE
In the webclient section of shrine.conf, add a helpLinks section with a "site name" : "site url" name value pair. In the example below, a link with the title "Site Data Details" will be added as a help link and it will open the google sheet link provided when clicked.
webclient {
    domain = "shrine-webclient-dev-node01.catalyst.harvard.edu"
    name = "SHRINE"
    nextStepsUrl = "https://www.actnetwork.us/national"
    urlCellPM = "http://shrine-webclient-dev-node01-i2b2.catalyst.harvard.edu:9090/i2b2/services/PMService/"
    siteAdminEmail = "isha_test@goo.com"
    usernameLabel = "isha_test"
    passwordLabel = "isha_test"
    queryFlaggingInstructions = "isha_test"
    flaggingIconInstructions = "isha's test flagging"
    flaggingPlaceholderText = "isha's sample message"
    helpLinks = {
        "Site Data Details": "https://docs.google.com/spreadsheets/d/16Z23xRbeyvcnM_BEtecgMQDFCL0BOTUDZiZLfkdmV-0/edit#gid=0"
    }
 }
VALIDATION
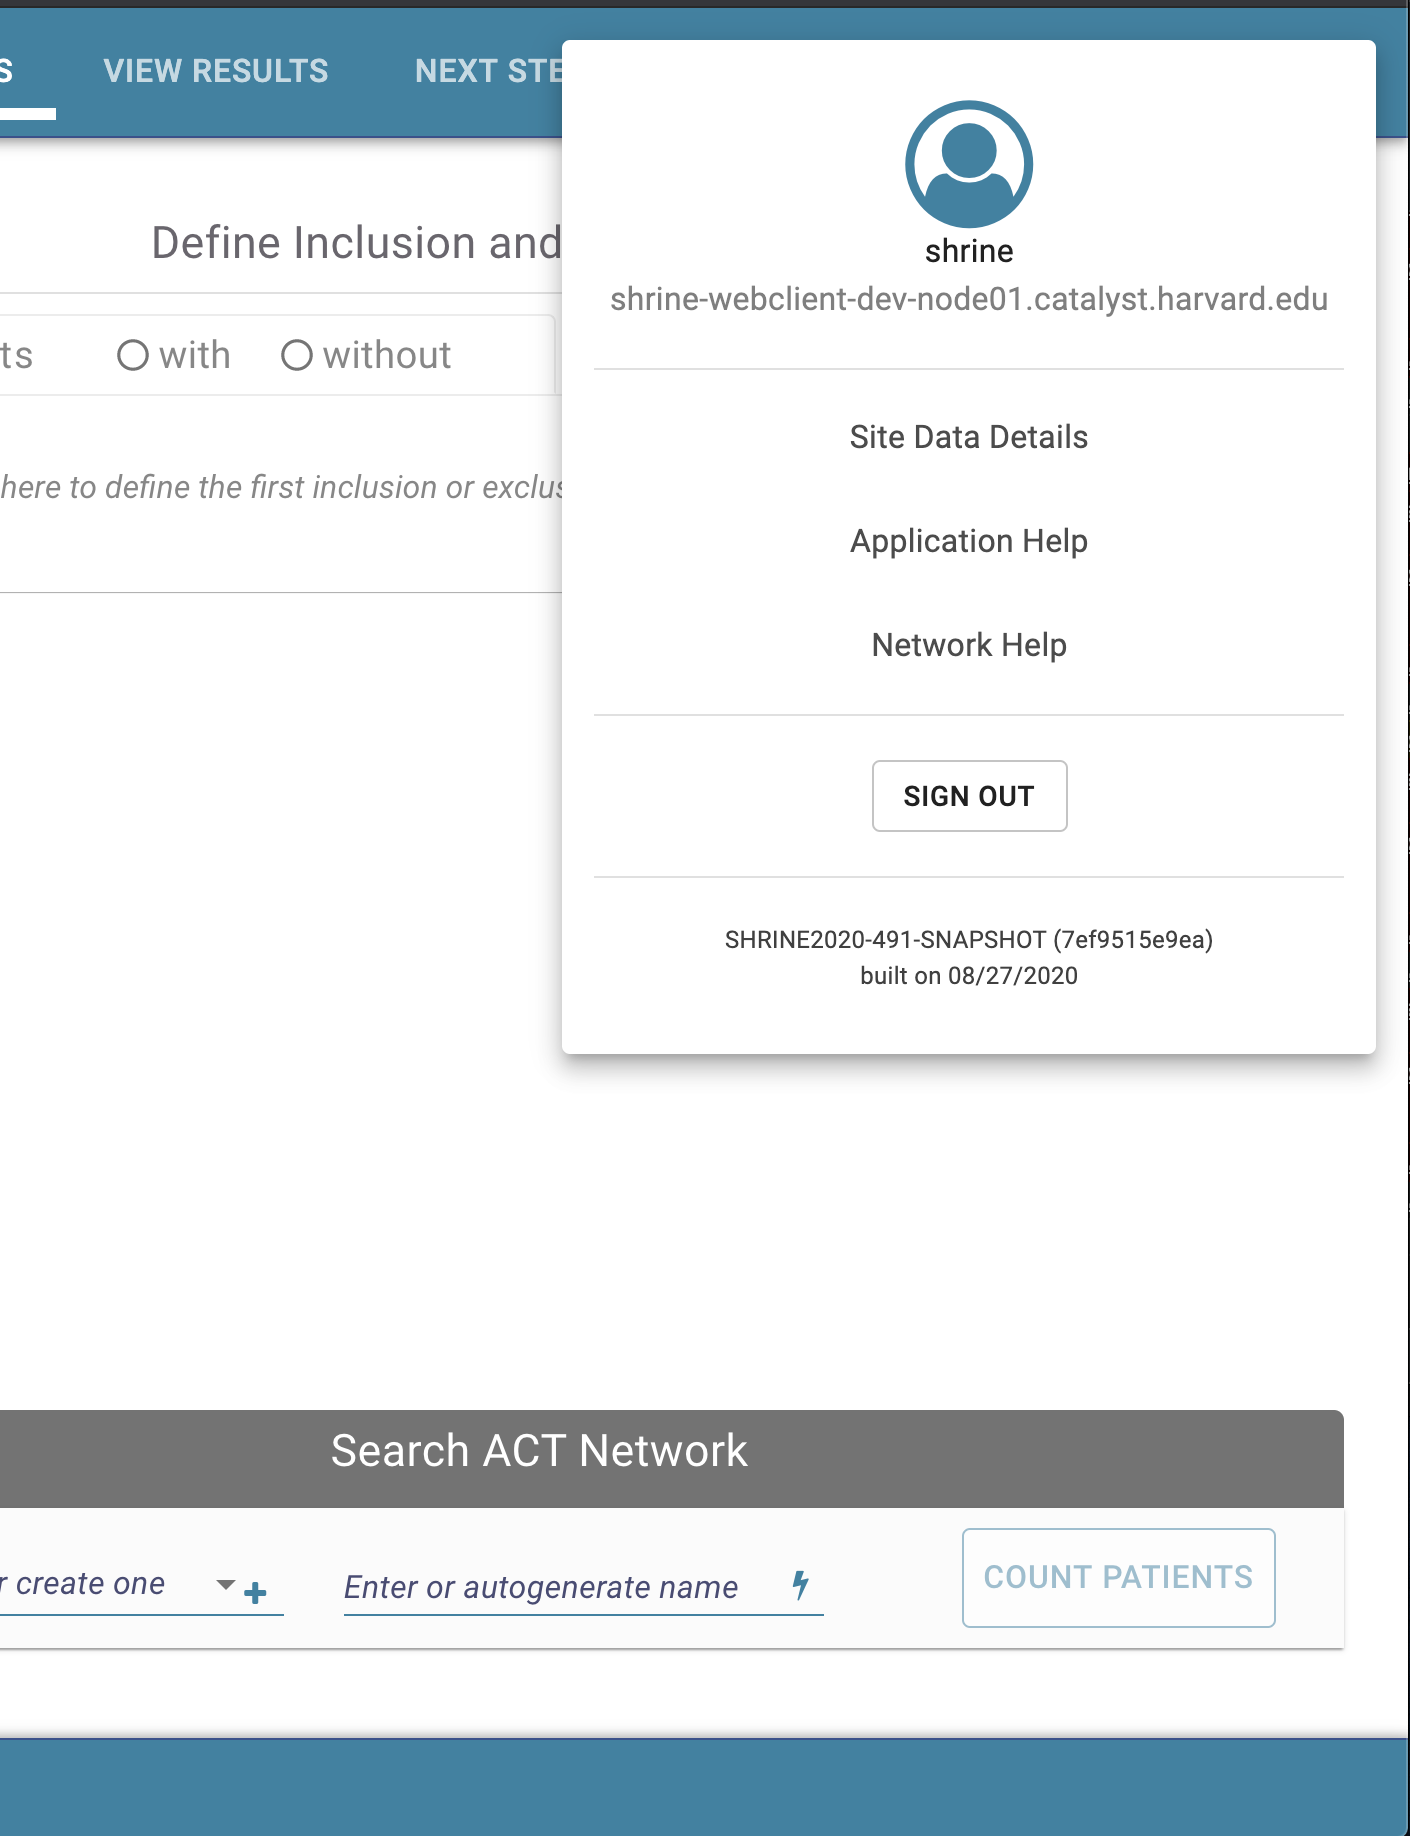
After restarting tomcat, the new "Site Data Details" link will be displayed in the User Profile menu:
Legacy Web Client: Changing "Network Help" to "Site Data Details"
DEFAULT CONDITIONS
The Legacy web client has a Network Help link in the upper right by default. We will change that text and link destination..

PROCEDURE
To customize this link, go to: /opt/shrine/tomcat/webapps/shrine-api/shrine-webclient-legacy
and open the file index.html in a text editor.
To change the title of the link go to line 538 and you will see the current setting "Network Help".

To change this link replace "Network Help" with the title of your choosing, in this example we are changing the title to "Site Data Details"

Now, to change the url that the link points to, go to around line 323 and you will see a networkHelp.onclick method that will direct the user to a local .pdf file when clicked.

Change the url to the desired link. Note the comma following the end quote...be sure to keep this in place. In the example below, we are changing the url to a google docs link.

VALIDATION
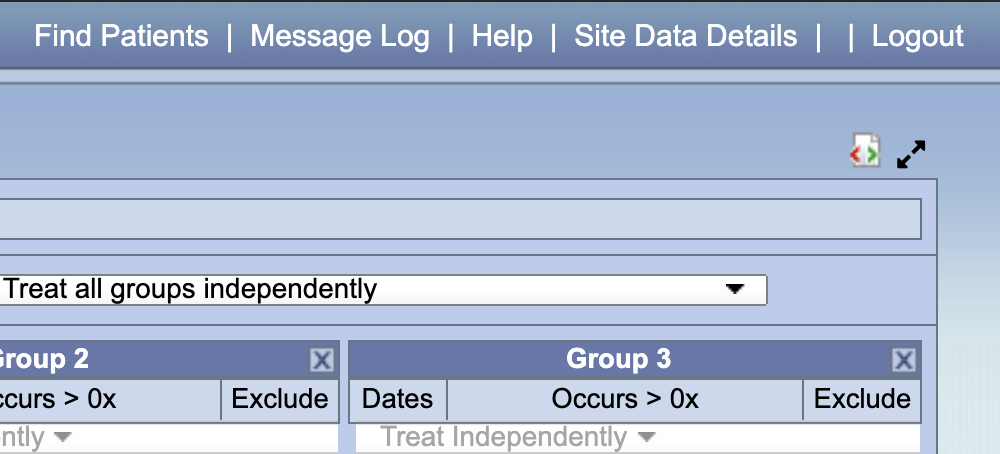
In the legacy web client, you should see the Site Data Details link in the upper right.
Overview
Content Tools