I - Tour of the Web Client
Introduction
The functionality described in Part I of the user guide assumes that you have received the necessary prior authorizations to access a SHRINE network at your institution. The process for this authorization varies according to your institution and network.
Most SHRINE networks use a tool called the Data Steward Application to request and approve query topics prior to use of the SHRINE Web Client. Your local administrator or network contact will provide information about this prerequisite step, if applicable.
Details of shots presented in this document may vary from network to network. Each network uses a different ontology and may be uniquely configured. We have attempted to note in this document where these situations may be expected. If you have questions, please contact your local network representative.
Find Patients View
The default view the user will see upon logging in is the Find Patients view. The Find Patients view is divided into 3 modules: 1 Medical Concepts, 2 Inclusion and Exclusion Criteria, 3 Search. The main menu is in the upper middle 4.
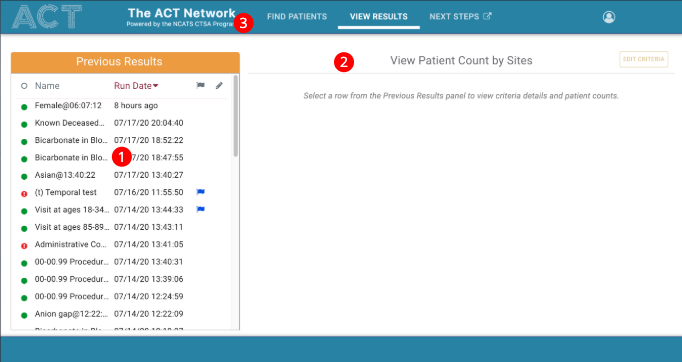
View Patient Counts
The other modules are located in View Results. View Results is divided into 2 modules: 1 Previous Results, 2 Patient Counts. The main menu can be used to switch between the Find Patients and View Results tabs 3.
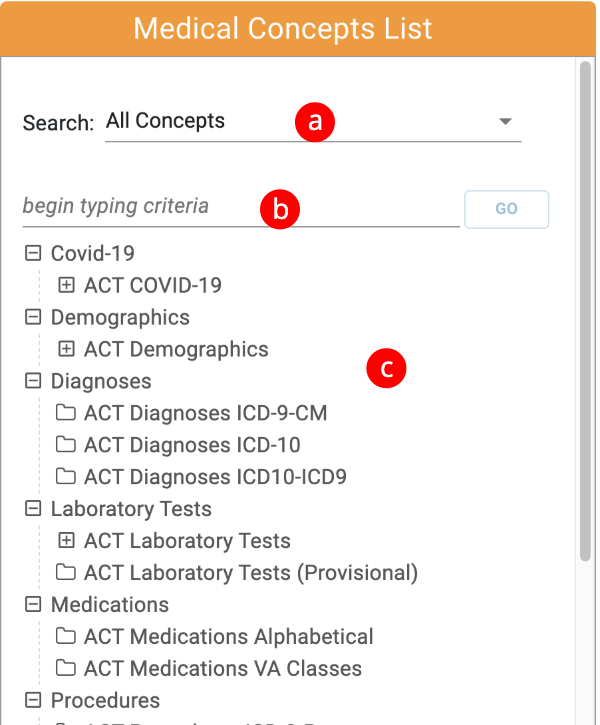
Medical Concepts Module
The Medical Concepts panel has 3 tools to help you find concepts.
a - The Filter Drop Down menu.
b - The Search Field
c - The Medical Concepts Tree
Overview
Content Tools