Here are some tasks that a SHRINE system administrator may need to do from time to time.
Handling Lockout (Lockout was replaced with better obfuscation and the DSA in 1.22, will be removed in 1.26)
In SHRINE, when a user runs too many queries that return the same result from a site's Adapter, that user will be locked out from that site. This will usually show itself in the form of an AdapterLockoutException coming back from a site when executing a query.
Temporary Unlock
To unlock a user that has locked themselves out by accident, an administrator with database access must run the following query on the shrine_query_history database:
mysql -D shrine_query_history
insert into PRIVILEGED_USER (USERNAME, THRESHOLD, DOMAIN, OVERRIDE_DATE) VALUES ("[affected-user]", [threshold], "[i2b2-domain]", CURRENT_TIMESTAMP());
- Replace [affected-user] with the username of the user that needs to be unlocked.
- Replace [threshold] with the value of adapterLockoutAttemptsThreshold in the adapter{} block in shrine.conf.
- Replace [i2b2-domain] with the domain that the affected user belongs to. This information should be included in the AdapterLockoutException message caused by this user running a query.
"Permanent" Unlock
There are legitimate use cases for this, such as system administrators performing testing or diagnostics, which will result in the same query being executed several times, inevitably hitting the lockout threshold defined in shrine.conf. If you would like to work around this, you may run a query similar to the above, replacing [threshold] with a significantly higher value.
mysql -D shrine_query_history
insert into PRIVILEGED_USER (USERNAME, THRESHOLD, DOMAIN, OVERRIDE_DATE) VALUES ("[admin]", 999999, "[i2b2-domain]", CURRENT_TIMESTAMP());
- Replace [admin] with the username of the user that you wish to grant this privilege to.
- Replace [i2b2-domain] with the domain that the admin belongs to. For example: i2b2demo
Removing Unlock Privileges
To demote or "de-special-case" a user that should not have special lockout privileges, you will have to remove that domain/user from the PRIVILEGED_USER table. Run the following query to do so:
mysql -D shrine_query_history
delete from PRIVILEGED_USER where USERNAME='[admin]' and DOMAIN='[i2b2-domain]';
- Replace [affected-user] with the username of the user that you wish to revoke privilege from.
- Replace [i2b2-domain] with the domain that the user belongs to. For example: i2b2demo
Rename i2b2 Domain
In SHRINE networks, it is important that either network member uses their own distinct i2b2 domain name. SHRINE uses both the i2b2 domain name and the i2b2 user name to identify a user.
However, by default, most i2b2 installations use the default domain name "i2b2demo", which is bound to cause collisions, especially when several nodes network together. If the same domain/user pair shows up in multiple spots across the network, the network will treat them all as the same user for the purposes of counting lockout, logging queries, and displaying previous queries in the webclient.
If you have no other applications which depend on the i2b2 domain being named "i2b2demo", you may rename the existing "i2b2demo" domain in the i2b2 database, and then update the appropriate SHRINE configuration files. In order to rename an existing i2b2 domain, follow the instructions below.
NOTE: These instructions assume that Postgres is being used as the i2b2 database engine, but the queries are simple enough that they should be easily translated to other database engines if need be.
WARNING: After renaming your domain, any queries you ran will NOT show up in the Previous Queries panel, since the query log still associates those queries with the old domain name.
i2b2 Database
In the i2b2hive database, run the following queries:
psql i2b2hive
UPDATE crc_db_lookup SET C_DOMAIN_ID = 'newdomain' WHERE C_DOMAIN_ID = 'i2b2demo';
UPDATE im_db_lookup SET C_DOMAIN_ID = 'newdomain' WHERE C_DOMAIN_ID = 'i2b2demo';
UPDATE ont_db_lookup SET C_DOMAIN_ID = 'newdomain' WHERE C_DOMAIN_ID = 'i2b2demo';
UPDATE work_db_lookup SET C_DOMAIN_ID = 'newdomain' WHERE C_DOMAIN_ID = 'i2b2demo';
In the i2b2pm database, run the following query:
psql i2b2pm
UPDATE pm_hive_data SET DOMAIN_NAME = 'newdomain' WHERE DOMAIN_NAME = 'i2b2demo';
Replace "newdomain" in all the above examples with the name of the domain you would like to use. The name should be short and able to uniquely identify your institution. If needed, replace "i2b2demo" with the name of your existing i2b2 domain.
i2b2 Configuration Files
If you make use of the i2b2 admin webclient and the plain i2b2 webclient, make sure to update the lstDomains block in the i2b2_config_data.js file for each of those components as follows:
i2b2_config_data.js - lstDomains
domain: "newdomain",
For example, these files can be found in:
/var/www/html/admin/i2b2_config_data.js
/var/www/html/webclient/i2b2_config_data.js
Replace "newdomain" in all the above examples with the name of the domain you would like to use. The name should be short and able to uniquely identify your institution.
SHRINE Configuration Files
In /opt/shrine/tomcat/lib/shrine.conf, change the following line in the hiveCredentials block:
shrine.conf - shrine.hiveCredentials
domain = "newdomain"
In /opt/shrine/tomcat/webapps/shrine-webclient/i2b2_config_data.js, change the following line in the lstDomains block:
i2b2_config_data.js - lstDomains
domain: "newdomain",
If you are using the SHRINE Data Steward, change the following line in the usersource block of /opt/shrine/tomcat/lib/steward.conf:
steward.conf - shrine.steward.usersource
domain = "newdomain"
Replace "newdomain" in all the above examples with the name of the domain you would like to use. The name should be short and able to uniquely identify your institution.
After this, restart SHRINE to make the changes take effect.
You should start seeing references to the new domain name in the Message Log as well as the shrine_query_history database after running a query.
SHRINE Environment Variables (optional)
For consistency's sake, it is also recommended that you update the shrine.rc and common.rc environment variable files in the SHRINE user's home directory. This does not have a direct impact on SHRINE's operation, but any support scripts that you may have rely on these environment variables being correct.
In common.rc, update the I2B2_DOMAIN_ID variable to match your new domain name:
common.rc
export I2B2_DOMAIN_ID=newdomain
Likewise, for shrine.rc, update the SHRINE_ADAPTER_I2B2_DOMAIN variable to match your new domain name:
common.rc
export SHRINE_ADAPTER_I2B2_DOMAIN=newdomain
Replace "newdomain" in all the above examples with the name of the domain you would like to use. The name should be short and able to uniquely identify your institution.
Make sure to reload your environment (or log out and log back in) to make your changes take effect. For example, the following command will reload whatever is in .bashrc for the shrine user. This assumes that the commands to load common.rc and shrine.rc (the installer should do this by default) are present in .bashrc already.
reload environment
. /home/shrine/.bashrc
Additional CATALINA_OPTS settings (fixes PermGen and hanging thread issues)
For installations running multiple apps (steward.war, dashboard.war, etc), you may notice severely degraded performance (or complete unresponsiveness) shortly after starting Tomcat. This will result in a "java.lang.OutOfMemoryError: PermGen space" error in the logs.
Additionally, you may notice issues attempting to shut down Tomcat. Due to a thread still running even after the shutdown command is given, the Tomcat process will never completely terminate. After several startup/shutdown cycles, this can result in severely degraded performance of future Tomcat instances.
To fix either of these issues, you will need to create a file called setenv.sh in Tomcat's bin/folder and add additional values to the environment variable CATALINA_OPTS. Make sure setenv.sh is owned by the same user that runs SHRINE, and make sure it is executable:
creating setenv.sh
$ cd /opt/shrine/tomcat/bin
$ vi setenv.sh
$ sudo chown shrine:shrine setenv.sh
$ sudo chmod 755 setenv.sh
The contents of setenv.sh should look like this:
setenv.sh contents
export CATALINA_OPTS=" -XX:MaxPermSize=256m -Dakka.daemonic=on "
Restart SHRINE to make the changes take effect.
Timeouts in SHRINE
There are multiple configurable timeout values throughout the SHRINE infrastructure, which can seem somewhat daunting at first. The list below contains where to find these timeouts, their default values, and a short explanation on what each value affects.
For an explanation on what values can be used whenever [duration] is mentioned, refer to this document: SHRINE's Configuration File - shrine.conf#Durations
- Hub Timeout
- Where: shrine.conf, hub { maxQueryWaitTime {
[duration]} } - Default:
minutes = 4.5 - Explanation: How long the SHRINE Hub will wait to collect responses before it gives up and sends out what it has. In a standard single-hub network with many nodes, this value only needs to be set at the central hub. To ensure smooth operation, this value should be lower than the QEP Timeout at other nodes.
- Where: shrine.conf, hub { maxQueryWaitTime {
- QEP Timeout
- Where: shrine.conf, queryEntryPoint { maxQueryWaitTime {
[duration]} } - Default:
minutes = 5 - Explanation: How long a SHRINE Query Entry Point will wait for a response from a hub/broadcaster before giving up. If this timeout is reached, the user will see an error in their SHRINE webclient containing "Futures timed out". To ensure smooth operation, this value should be higher than the Hub Timeout at the central hub.
- Where: shrine.conf, queryEntryPoint { maxQueryWaitTime {
- i2b2 PM Timeout
- Where: shrine.conf, pmEndpoint { timeout {
[duration]} } (also present in steward.conf and dashboard.conf) - Default:
seconds = 10 - Explanation: How long SHRINE will wait for a response from the i2b2 PM before timing out. This is typically a low value, but if i2b2 is experiencing performance issues and users are having trouble logging in to SHRINE, this timeout should be increased.
- Where: shrine.conf, pmEndpoint { timeout {
- i2b2 CRC Timeout
- Where: shrine.conf, adapter { crcEndpoint { timeout {
[duration]} } } - Default:
seconds = 1 - Explanation: How long a SHRINE Adapter will wait for a response to an i2b2 query before timing out. This value is typically superseded by the Webclient Timeout value provided by the incoming query message.
- Where: shrine.conf, adapter { crcEndpoint { timeout {
- Webclient Query Timeout
- Where: SHRINE Webclient, click on green checkmark icon in the upper-right corner of the Query Tool panel
- Default: 180 (seconds)
- Explanation: How long a SHRINE adapter will wait for a response to a query it sends to the CRC. Each message sent by the webclient will contain a
<result_waittime_ms>element in its request based on this value. The particulars of this threshold vary wildly, but the general outcome is that query results will contain responses of "Results not available" for nodes that did not respond in time. Due to the potential long-running nature of complex i2b2 queries, this value should be somewhat high. However, it should be lower than a network's Hub Timeout (and thus, also lower than the QEP Timeout).
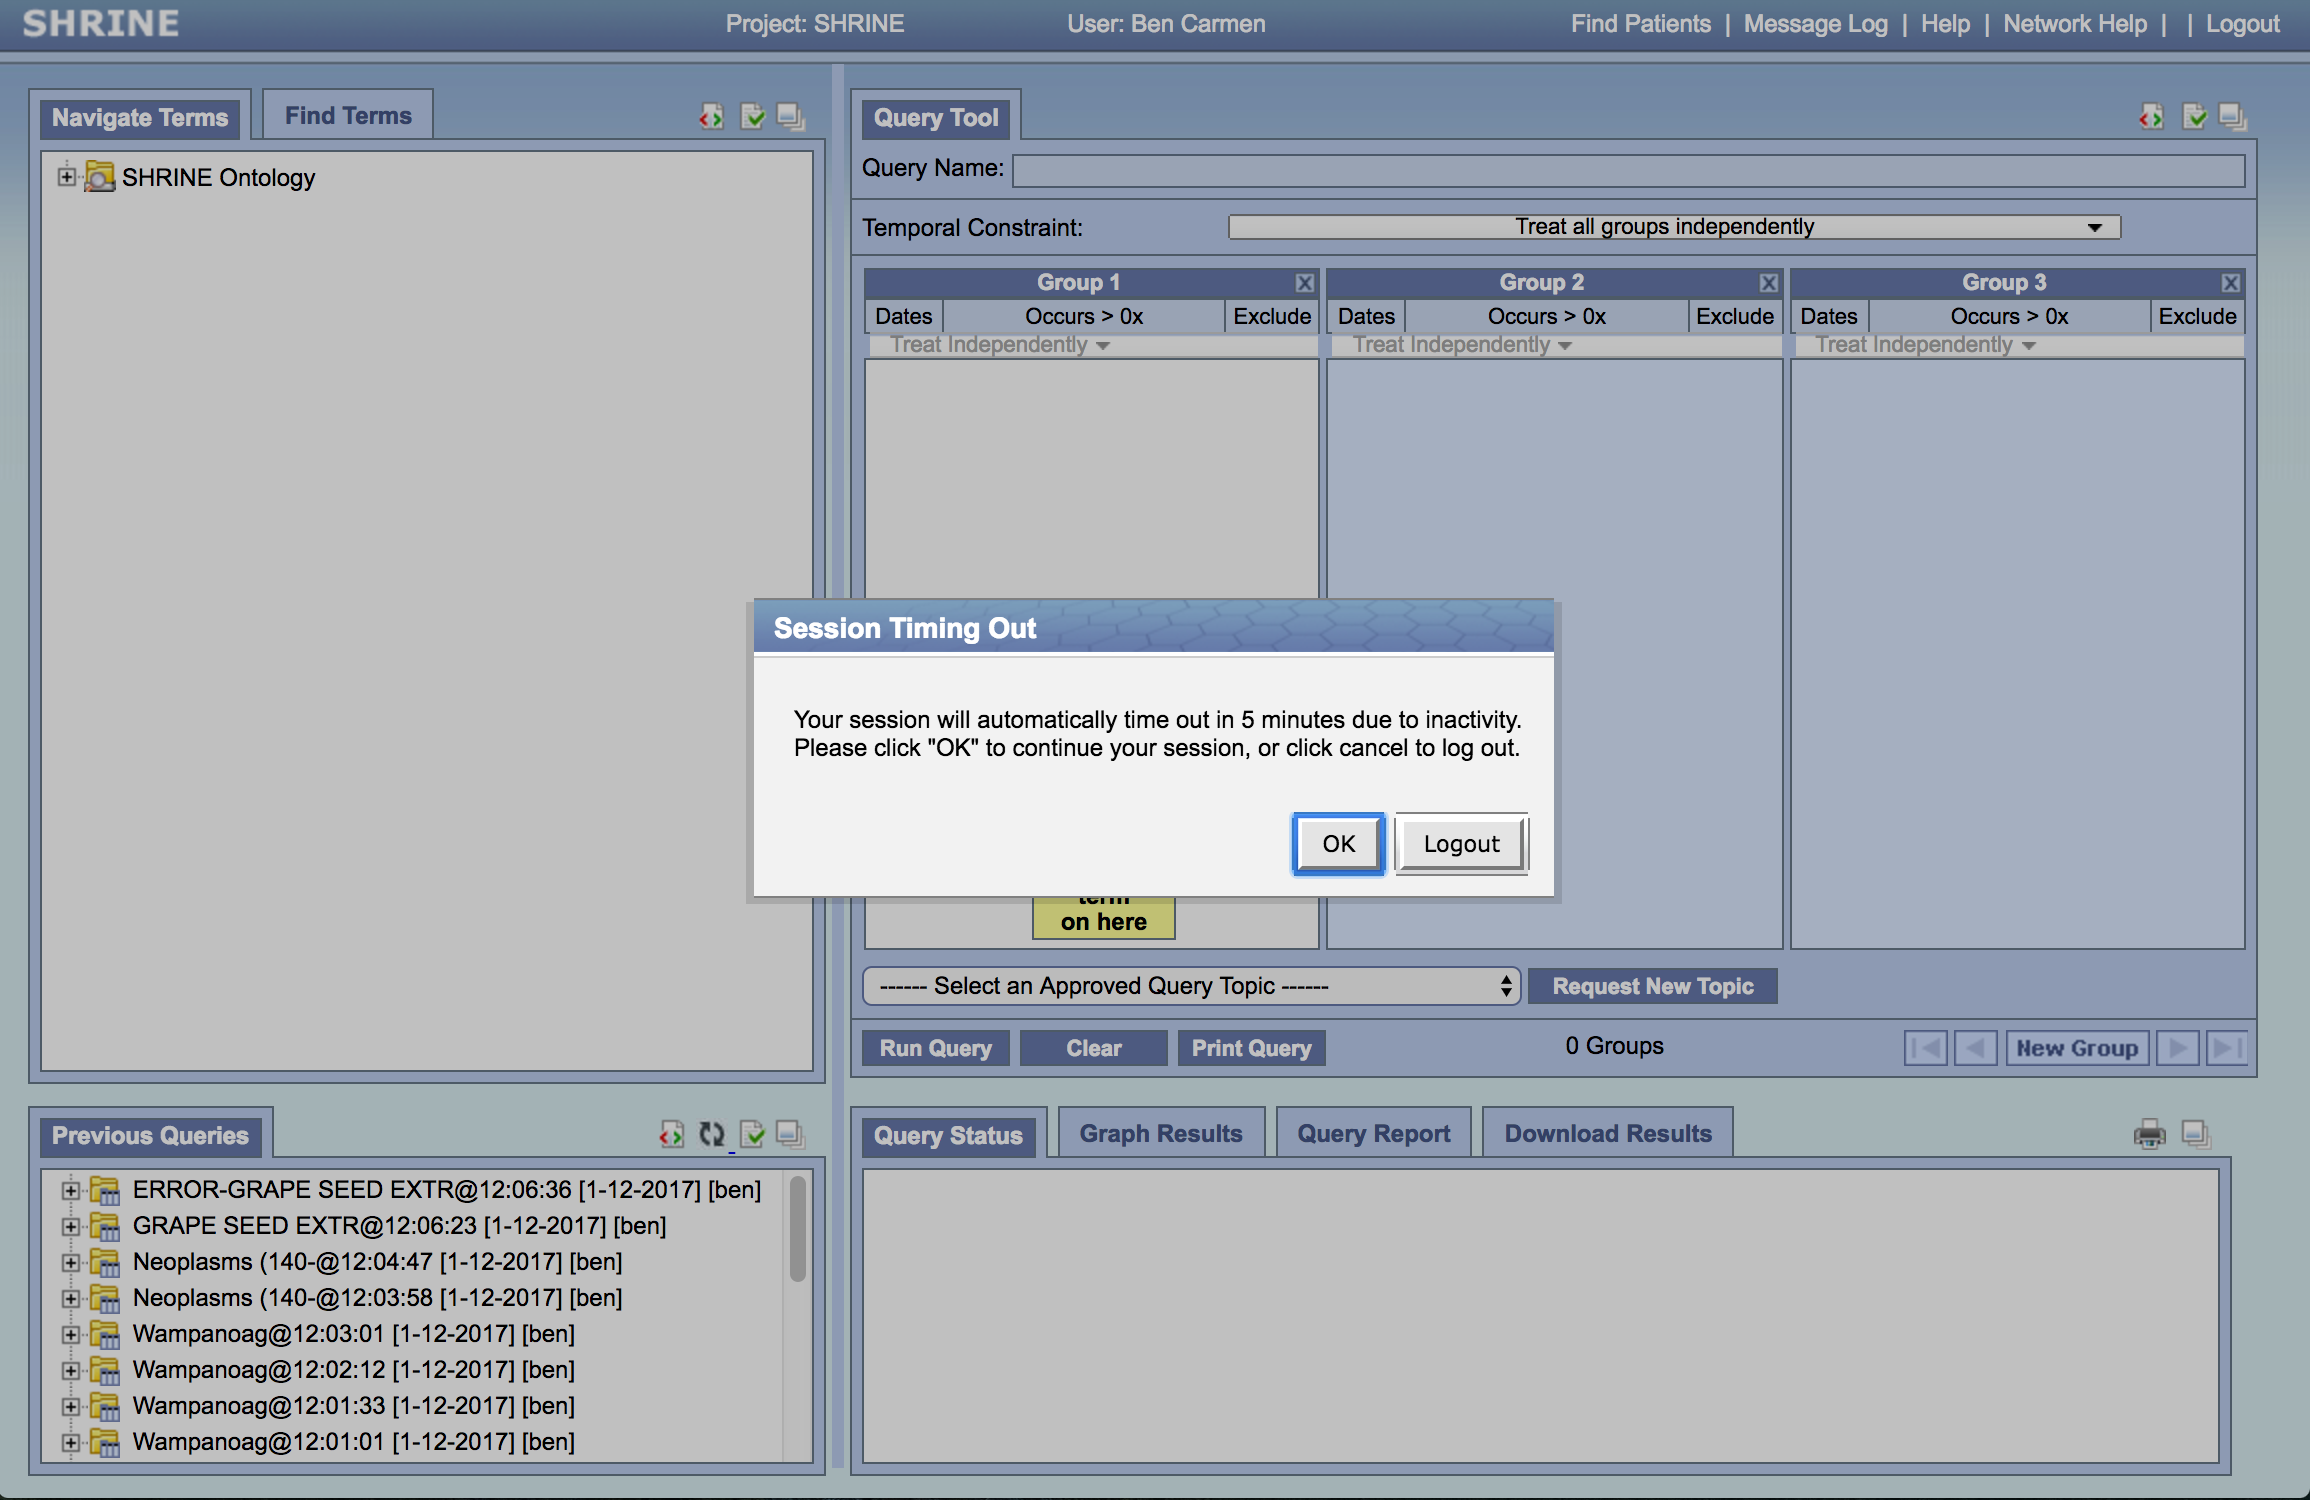
- Webclient Idle Timeout
- Where: The webclient will logout a user due to inactivity
- Explanation: The user will be warned with the pop-up shown below after 25 minutes of inactivity and will be logged out after 30 minutes if they do not click "ok".
- Webclient Cell Loading Timeout
- Where: i2b2_config_data.js, adapter { loginTimeout: (duration in seconds) }
- Default: 120 (seconds)
Explanation: The webclient will notify the user that loading the cells is taking too long and gives the user the option to continue waiting or to discontinue loading cells.
Timeouts in I2B2
- I2B2 Setfinder Timeout settings
- When a setfinder query is run, the CRC needs to know how long the query should remain in the small, medium or large queue before it will timeout and move on to the next queue. This length of time is defined in the Setfinder JMS Queue transaction timeout properties section of the crc.properties file. More details can be found here:http://community.i2b2.org/wiki/display/getstarted/10.4.4.2.3+Setfinder+Query+-+Timeout+Properties
FR Repository Cell Timeout
Where: ontology.properties, edu.harvard.i2b2.ontology.ws.fr.timeout = (duration in seconds)
Default: 1000 (seconds)
Explanation: A timeout for Ontology cell to communication with the File Repository. More details found here: http://community.i2b2.org/wiki/display/getstarted/9.4.3.3+File+Repository+Cell+Properties
Overview
Content Tools